
Sheetrock Installation San Antonio New Construction and Remodels
Sheetrock Installation San Antonio New Construction and Remodels
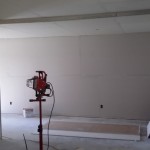
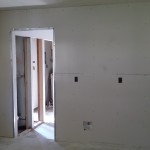
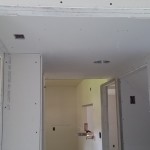
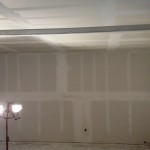
Sheetrock Installation San Antonio New Construction and Remodels – Wallboard, plasterboard or just Sheetrock . . . like some pros do, drywall revolutionized the way walls and ceilings are covered. Before the 1950s, when these paper-wrapped gypsum panels came into widespread use, it took days for lathers and plasterers to create a firm, flat foundation for paint or wallpaper. With drywall, it takes a fraction of the time. Two pros from Antonio’s paint can typically cover a 12-by-16-foot room less than 90 minutes.
To work that fast takes practice and a few specialized tools. But sheetrock installation is not just about speed. Doing the job right means using screws of the correct length, off-setting panels so seams don’t line up, and making sure wires and pipes aren’t vulnerable to puncture.
-
- San Antonio Sheetrock Repair Installation
-
- San Antonio Sheetrock Repair Installation
-
- San Antonio Sheetrock Repair Installation
-
- San Antonio Sheetrock Repair Installation
-
- San Antonio Sheetrock Repair Installation
-
- San Antonio Sheetrock Repair Installation
-
- San Antonio Sheetrock Repair Installation
-
- San Antonio Sheetrock Repair Installation
-
- San Antonio Sheetrock Repair Installation
-
- San Antonio Sheetrock Repair Installation
-
- San Antonio Sheetrock Repair Installation
-
- San Antonio Sheetrock Repair Installation
-
- San Antonio Sheetrock Repair Installation
-

- San Antonio Sheetrock Repair Installation
-
- San Antonio Sheetrock Repair Installation
-
- San Antonio Sheetrock Repair Installation
-
- San Antonio Sheetrock Repair Installation
-
- San Antonio Sheetrock Repair Installation
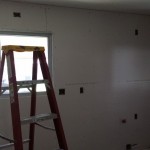
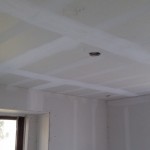
Installing sheetrock is easy enough for a homeowner, as long as there’s someone to help; the heavy sheets are difficult to lift, particularly when doing ceilings.
Determining where the first panel’s end will land, requires measuring out from a corner, perpendicular to the strapping, or the joists.
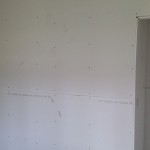
If the sheetrock panel doesn’t span the entire ceiling, its end must land on the center of a strapping piece or joist. If it doesn’t, measure to the center of the farthest support piece the panel will overlap. Transfer that measurement to the edge of the first panel and mark it.
Hook a T-square on the panel and place it alongside the mark. Score through the paper on the front with a utility knife, using the T-square as a guide. Stand the panel on edge and snap the waste part of it away from the score line. Cut through the paper backing to remove the waste.
To help locate where screws will go around the room, mark the top plate at all locations where strapping or joists intersect the wall.
With an some help assistant, hoist the first sheetrock panel into one corner of the ceiling. The edges should be perpendicular to strapping or joists and one end should be tight to the wall.
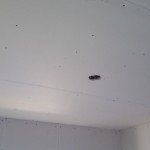
As the assistant holds the panel, drive five screws, evenly spaced, in a line across the panel’s width and into the joist or strapping closest to the middle of the panel.
Use the marks on the top plate to help align the screws. Keep screws at least ½ inch from all edges. Drive the screwheads slightly below the surface of the paper but not so deeply that they break through . .
Heard enough? Don’t risk hurting yourself or a friend. Call the pros at Antonio’s Paint to install, repair or replace your sheetrock. We have great prices and our quality is difficult to match.