Drywall Sheetrock water damage repair
Drywall Sheetrock repair water damage San Antonio TX
Drywall Sheetrock water damage repair – antoniospaint.com is contracted by various companies in town to provide drywall / sheetrock repair after water damaged has occurred. Antonio has been performing these type of repairs for many years. Before you call us out to repair your damaged sheetrock, you will need to determine the cause of the water damage. Was it a leaky roof? A leaking faucet? Maybe the Air Conditioning drain line? Whatever the cause you will want to be sure you get that fixed before you consider calling us out to repair the drywall.
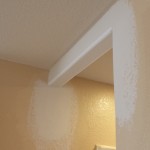
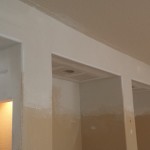
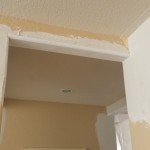
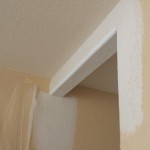
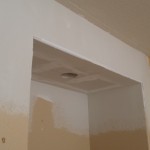
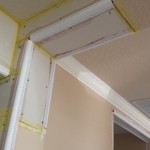
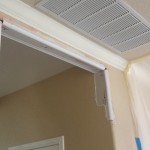
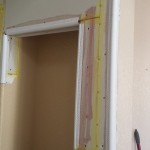
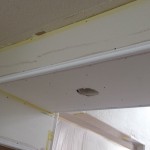
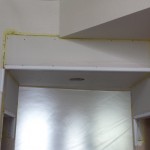
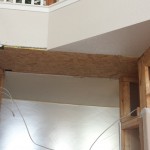
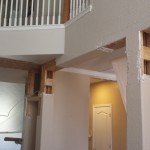
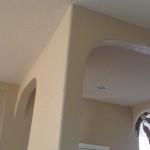
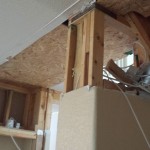
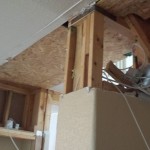
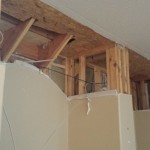
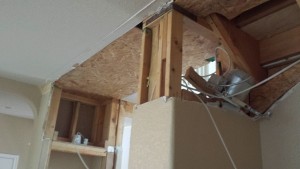
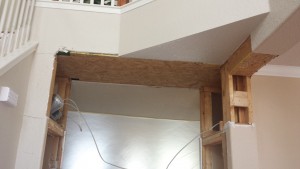
Below are a few pictures of drywall / sheetrock that was damaged and then repaired by Antonio @ antoniospaint.com
- Water Damage Repair Drywall Sheetrock San Antonio TX
- Water Damage Repair Drywall Sheetrock San Antonio TX
- Water Damage Repair Drywall Sheetrock San Antonio TX
- Water Damage Repair Drywall Sheetrock San Antonio TX
- Water Damage Repair Drywall Sheetrock San Antonio TX
- Water Damage Repair Drywall Sheetrock San Antonio TX
- Water Damage Repair Drywall Sheetrock San Antonio TX
- Water Damage Repair Drywall Sheetrock San Antonio TX
- Water Damage Repair Drywall Sheetrock San Antonio TX
- Water Damage Repair Drywall Sheetrock San Antonio TX
- Water Damage Repair Drywall Sheetrock San Antonio TX
- Water Damage Repair Drywall Sheetrock San Antonio TX
- Water Damage Repair Drywall Sheetrock San Antonio TX
- Water Damage Repair Drywall Sheetrock San Antonio TX
- Water Damage Repair Drywall Sheetrock San Antonio TX
- Water Damage Repair Drywall Sheetrock San Antonio TX
- Water Damage Repair Drywall Sheetrock San Antonio TX (1)
- Water Damage Repair Drywall Sheetrock San Antonio TX
Repairing water damaged drywall is labor intensive and messy work. It is not uncommon for multiple visits if the damage is extensive. In extreme cases we will have to remove the damaged drywall and sometimes insulation. Place fans and allow the area to dry completely before we repair the area. If we do not allow the area to dry, mold can begin to grow. In extreme cases we may need to apply a mold repellent / treatment to the area that was affected by the moisture.
Repairing water-damaged drywall is not too hard, as mentioned earlier just labor intensive. However, ceilings are absolutely the hardest if you’re not a professional. Working over your head is not easy, and getting the repair to blend in with the rest of the ceiling will be tough to achieve if you’re not highly experienced at finishing drywall.
Quickly cut out the wet drywall as soon as possible. This will help to minimize any mold growth. Mold spores hidden in the ceiling will grow quickly with the warm temp, and they have food. The only ingredient missing was water, and now it’s present. Mold can bloom within 2 – 3 days if you do not act quickly. Here in San Antonio, Texas our high humidity levels are another reason you need to move quickly.
Be sure to wear goggles or other eye protection as you remove the damaged drywall. It is very easy to damage your eyes with the hard materials associated with drywall / sheetrock.
Getting the ceiling ready for a new piece of drywall can be very cumbersome and difficult . . .cutting back the water-soaked drywall to the center of one of the ceiling joists can be very messy and frustrating . . so prep yourself. Or call us, we will get there quickly in the event of water damage. If you plan to tackle the project yourself, you will need razor, drywall saw and a number of other tools. You will also need paper and plastic to your floors along with minimize the mess. Water leaks can sometimes create a massive water blister in latex paint on a ceiling. You may mistake this for ruined drywall that has a bulge when in fact the drywall may not have to be replaced. Carefully poke the large blister and let all water drain out.
The day after the leak, do the test with your finger to see how stiff the drywall is. If it’s solid, you may just have to repaint and not replace drywall. The key is to minimize the amount of water that saturates the drywall. I’ve seen many a drywall ceiling that dries out and survives. It’s not unusual at all.
If you’re worried that the drywall might fall from the ceiling at a later date, you can always install additional screws. If you’ve got one-half-inch-thick drywall, then use 1 and 1/4-inch coarse thread screws. Be sure the drywall screw is countersunk about 1/16th of an inch. If you go any further, you’ll tear the paper around the bugle-head screw rendering it ineffective.
Whether you tackle the drwyall repair yourself or choose to contact a professional. Call me for assistance.

