
Drywall Repair & Interior House Painting Before & After Pictures – Redland Road
Drywall Repair & Interior House Painting Before & After Pictures – Redland Road
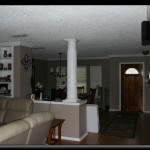
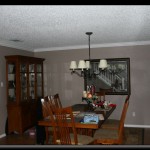
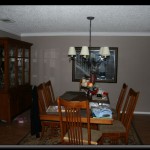
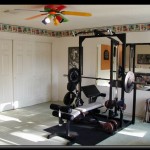
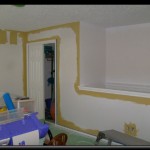
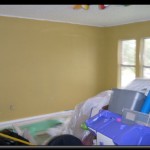
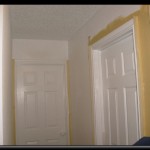
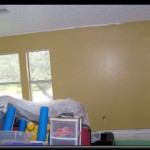
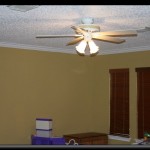
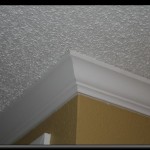
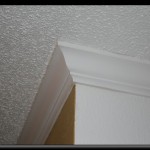
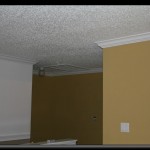
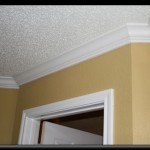
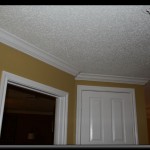
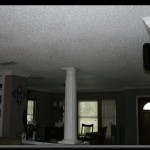
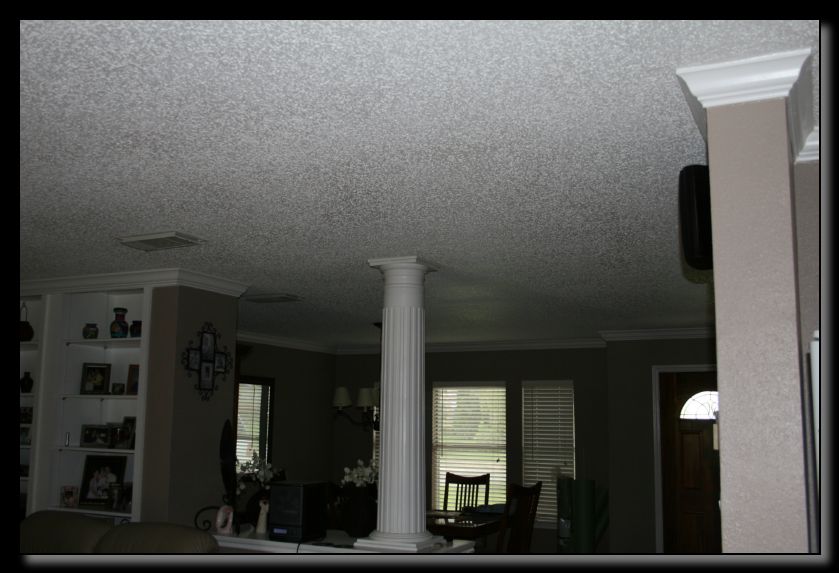
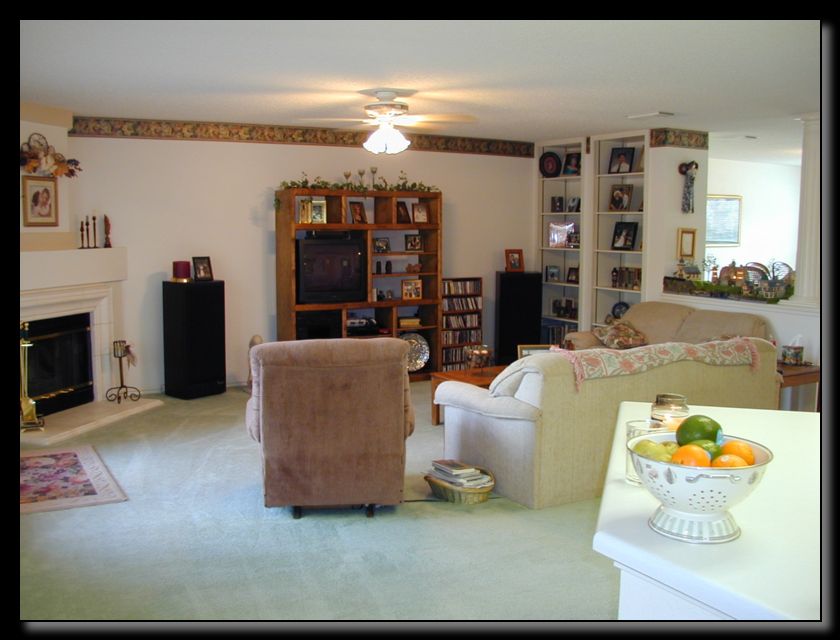
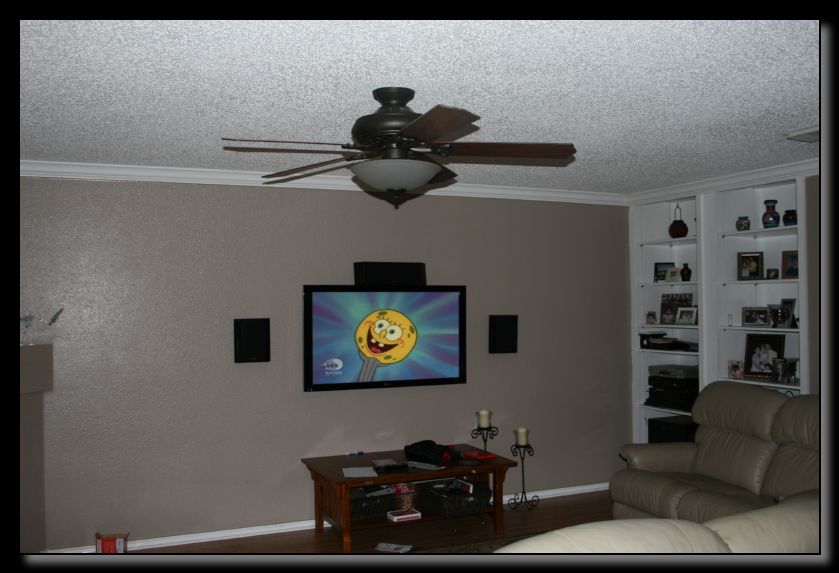
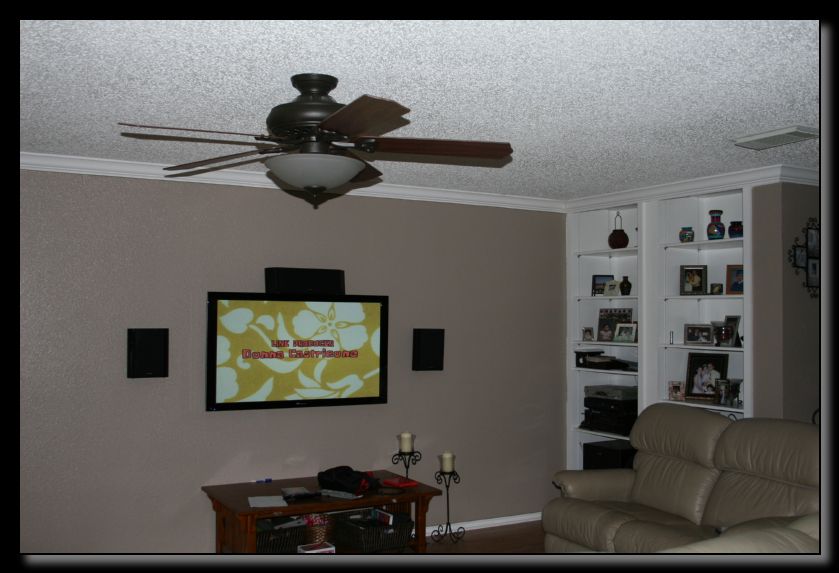
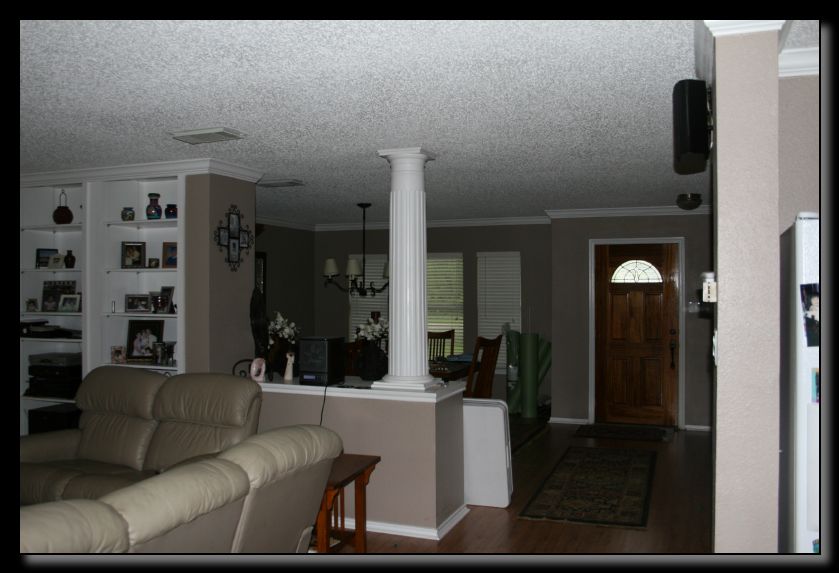
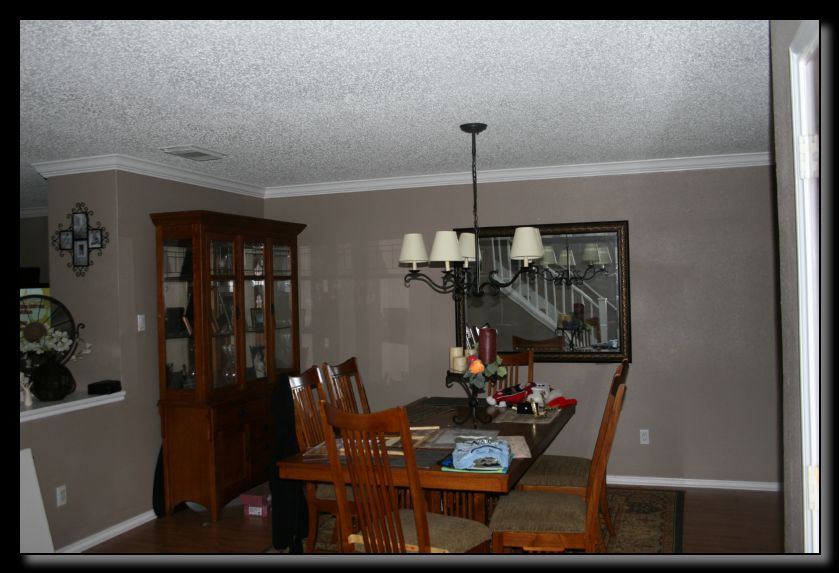
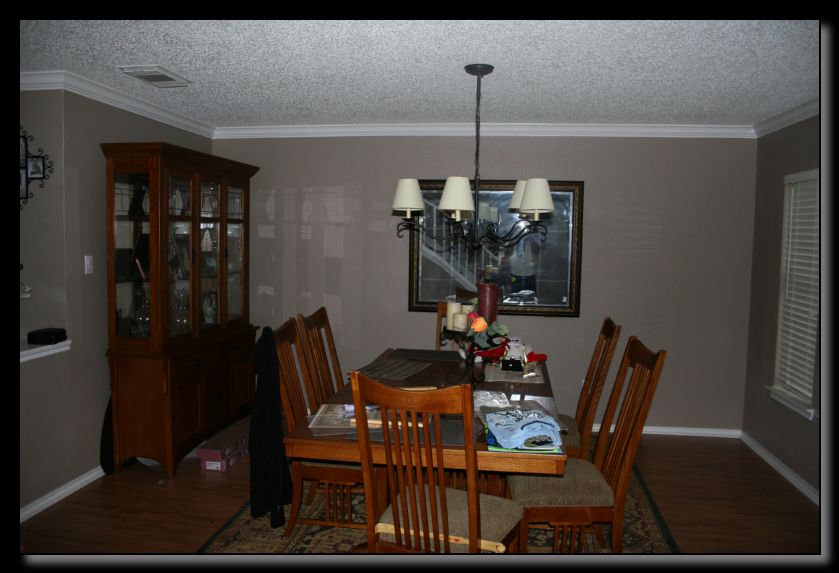
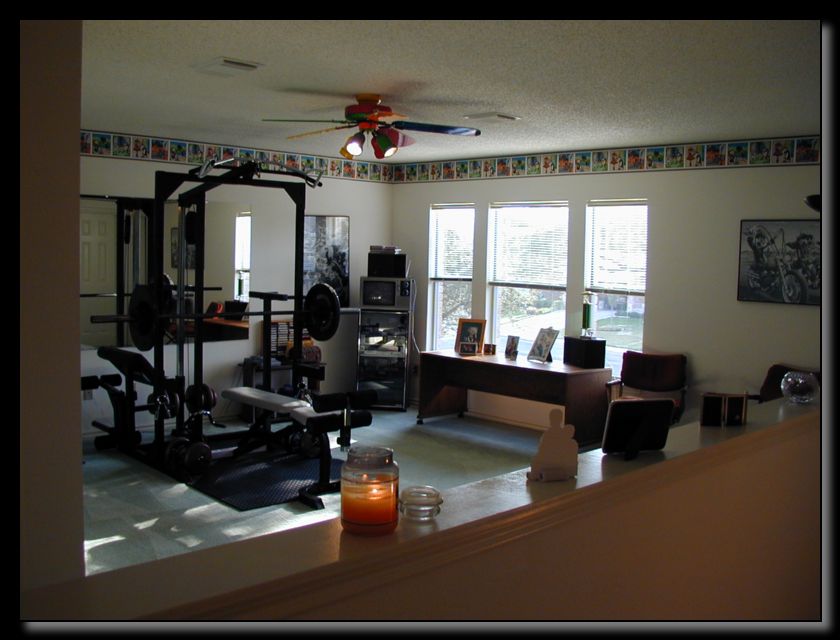
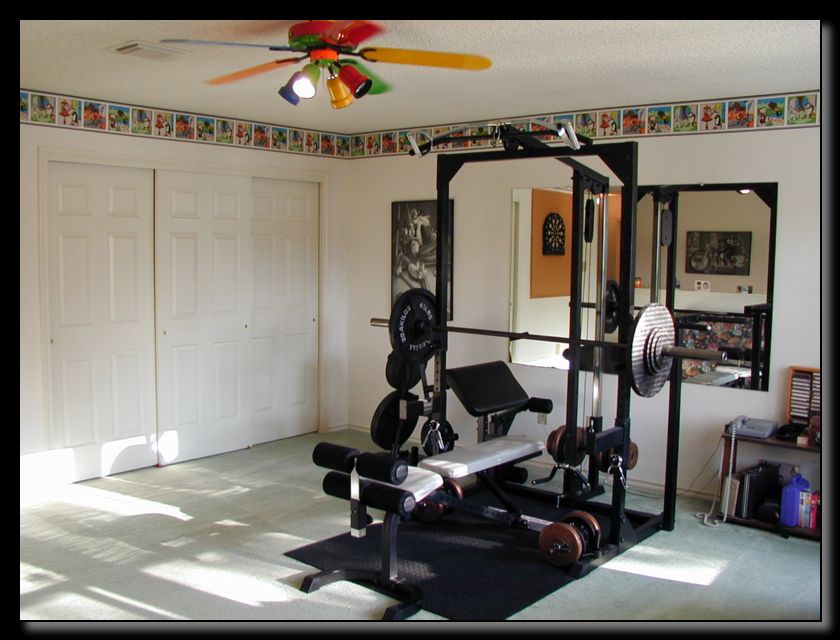
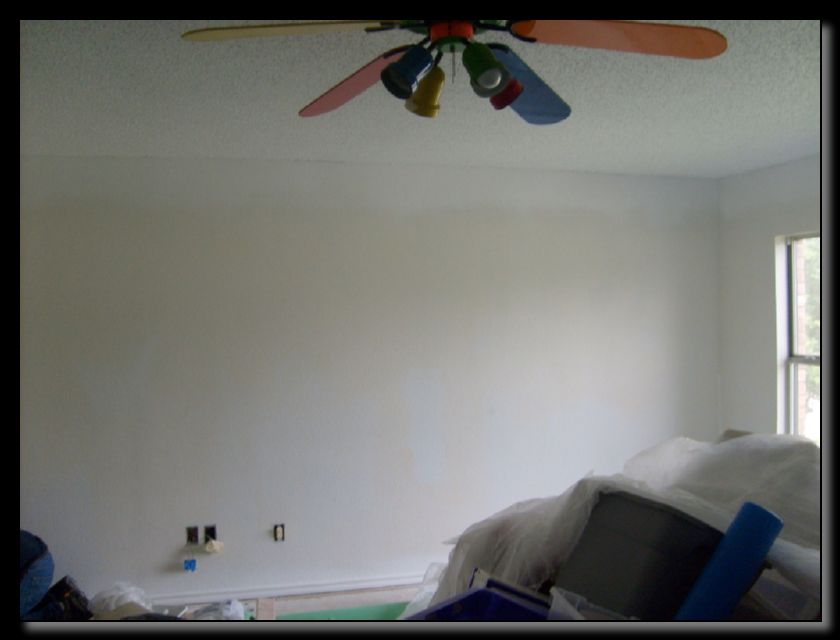
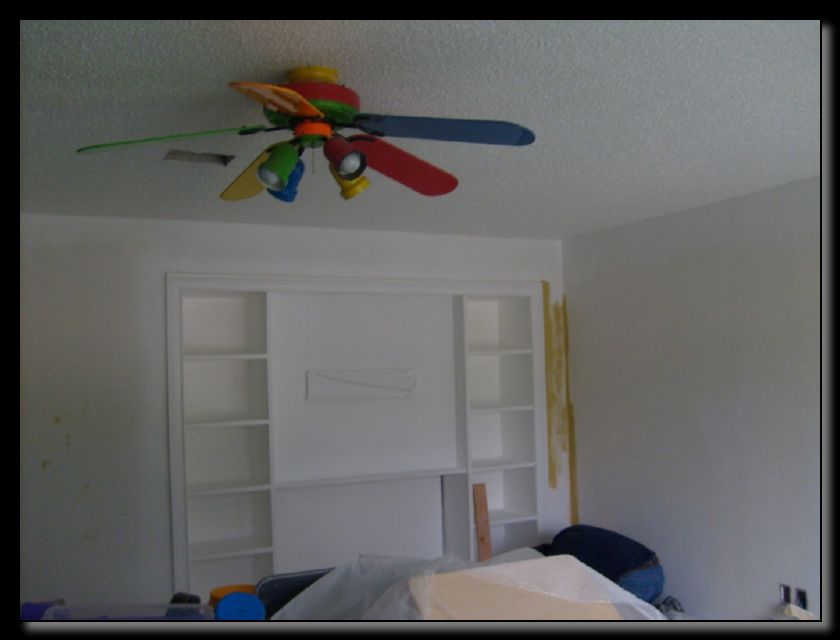
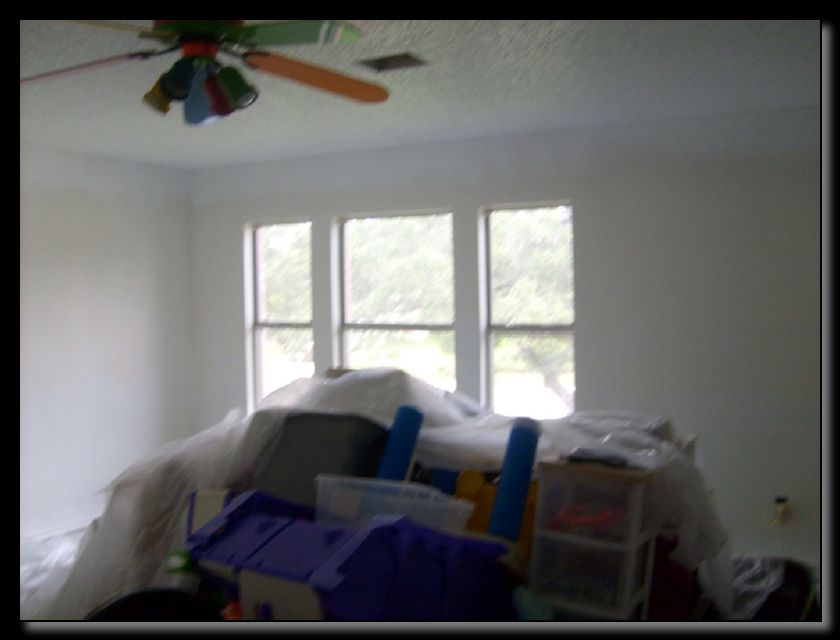
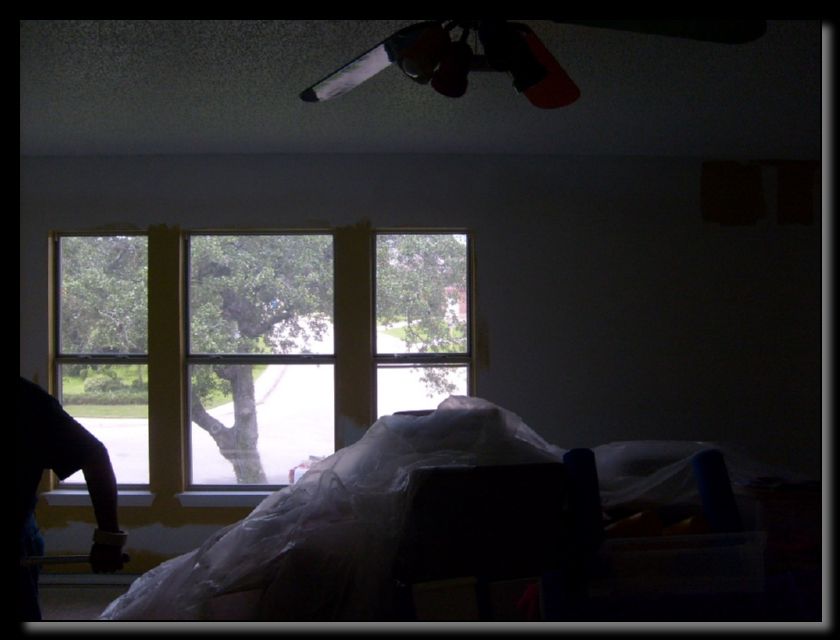
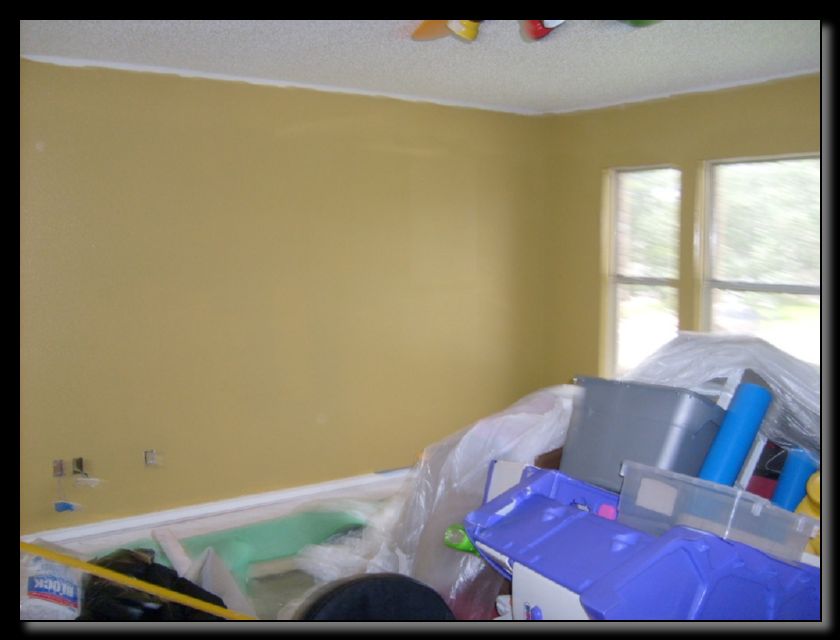
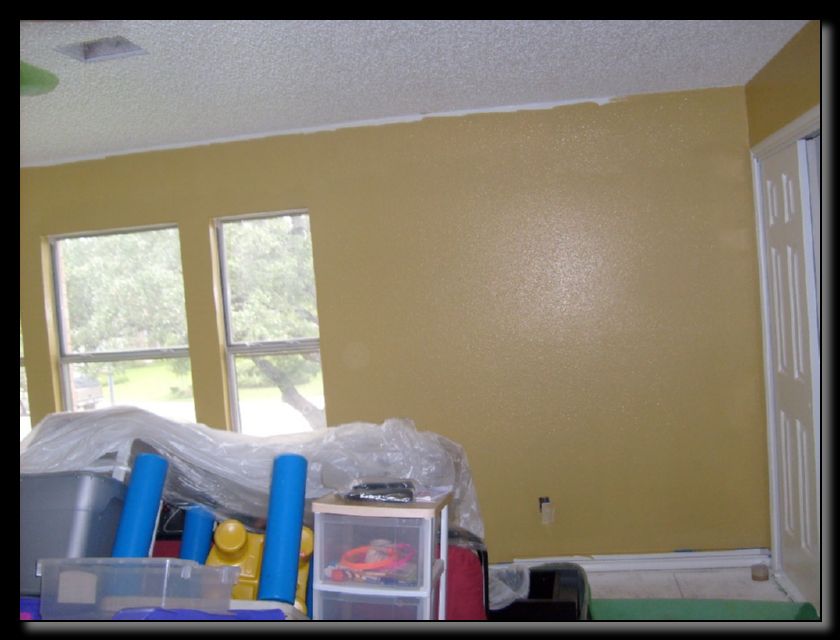
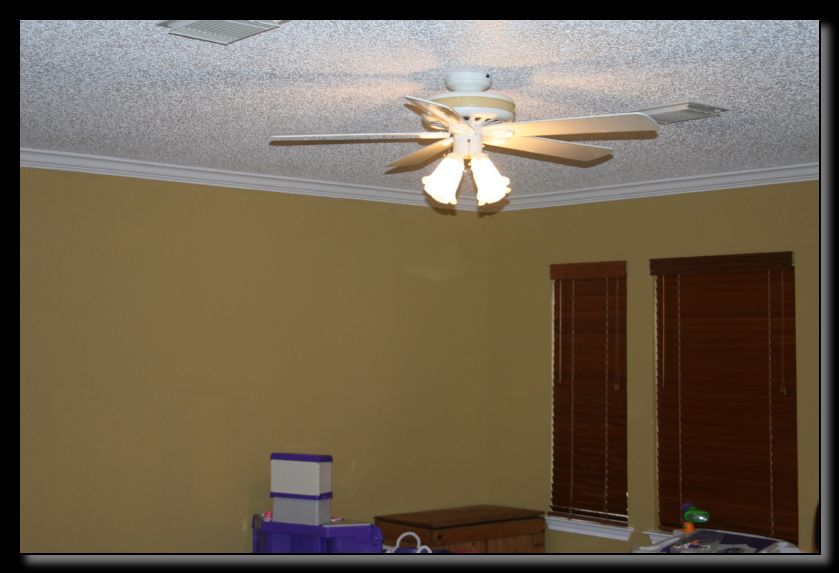
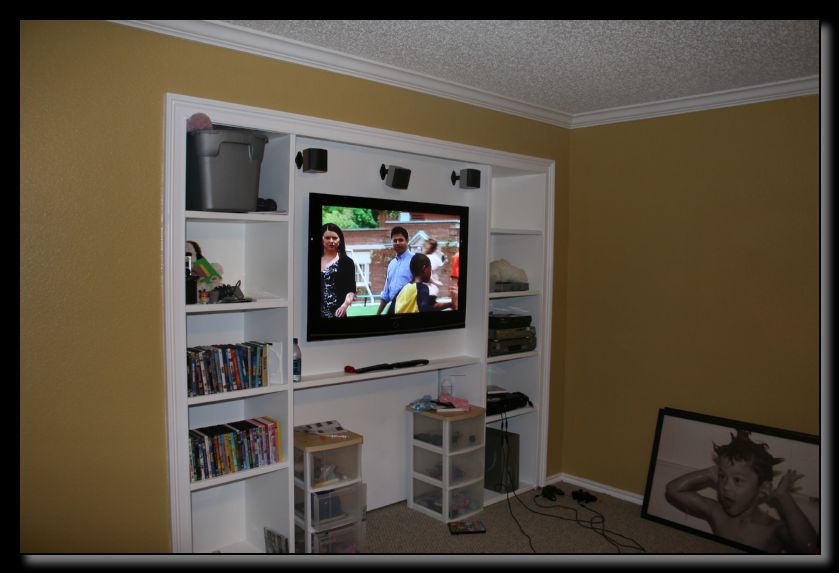
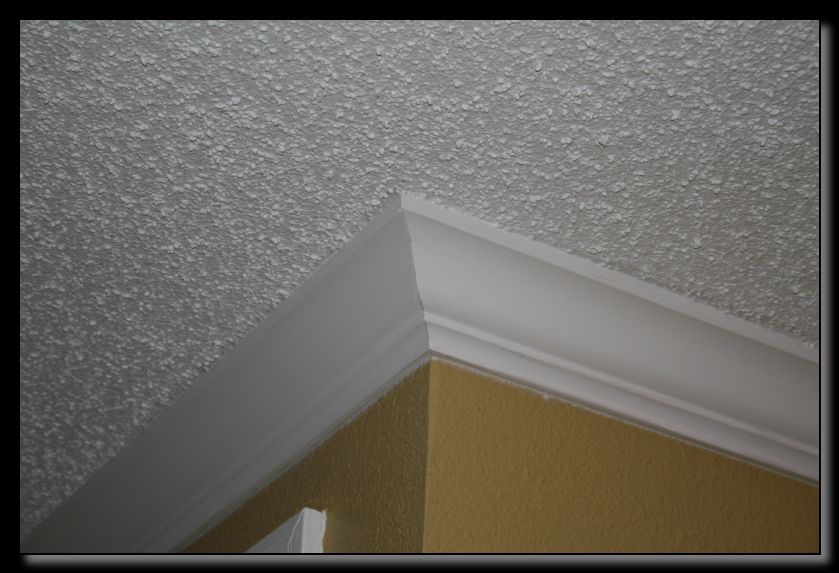
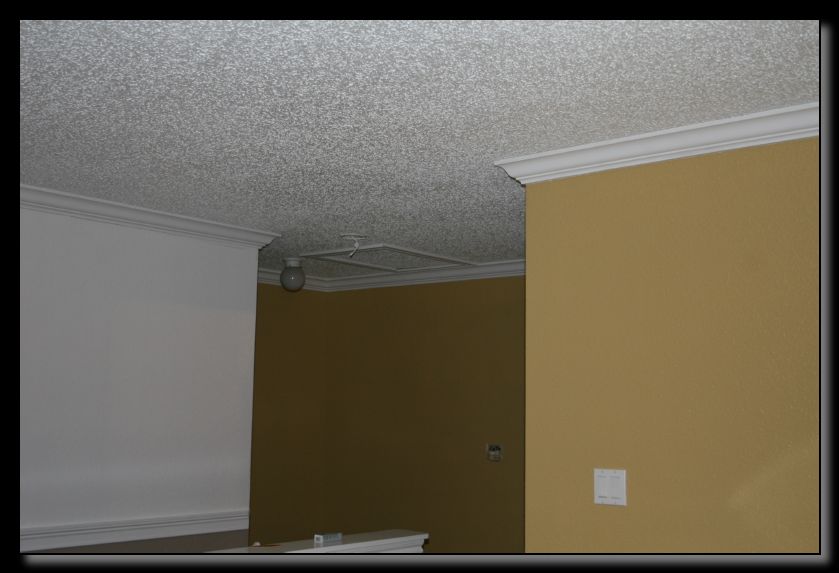
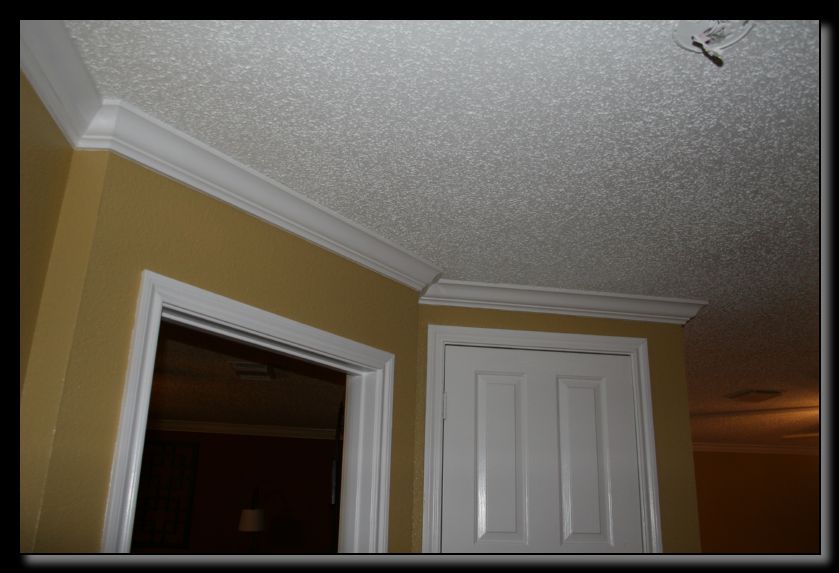
Drywall Repair & Interior House Painting Before & After Pictures – Redland Road – This couple in San Antonio off Redland Road and 1604 wanted to update their home and just make it look nicer. As you can see the pictures below, we installed crown molding, removed old paper borders and fixed holes made during the installation for a surround sound stereo system. We repaired a number of holes in the sheetrock and assisted in hiding the speaker wiring behind the new crown molding. We also caulked and painted the new crown molding.
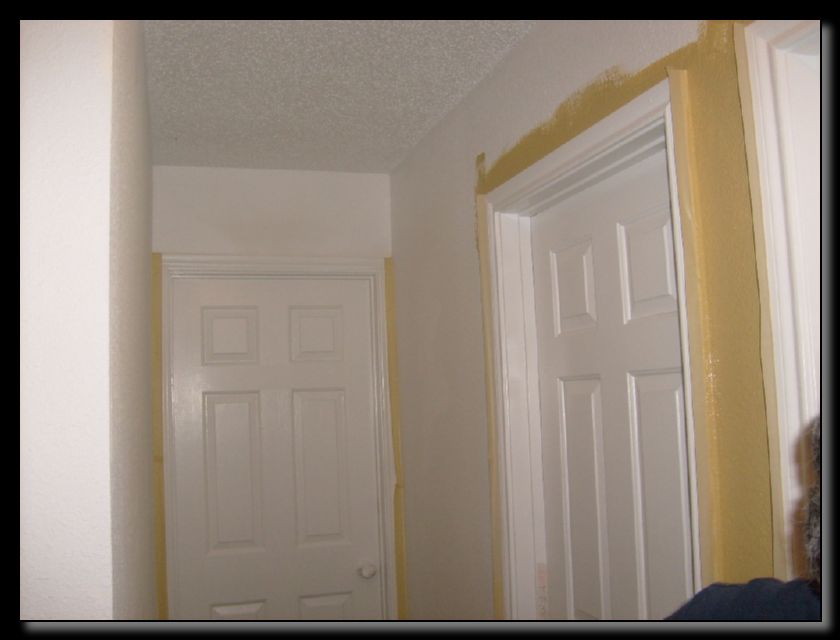
First we completed the down stairs living, dining and kitchen. Shortly thereafter, we installed crown molding and painted their upstairs game room, master bedroom hallways and doors.
If you are planning on running new wires, call us first so we can guide you along the way.
-

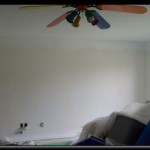
- Redland Road Interior House Paint Before & After Pictures
-

- Redland Road Interior House Paint Before & After Pictures
-

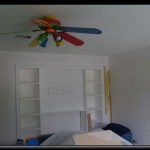
- Redland Road Interior House Paint Before & After Pictures
-

- Redland Road Interior House Paint Before & After Pictures
-

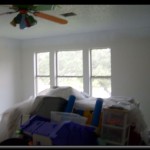
- Redland Road Interior House Paint Before & After Pictures
-

- Redland Road Interior House Paint Before & After Pictures
-
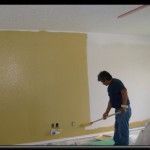
- Redland Road Interior House Paint Before & After Pictures
-

- Redland Road Interior House Paint Before & After Pictures
-
- Redland Road Interior House Paint Before & After Pictures
-
- Redland Road Interior House Paint Before & After Pictures
-

- Redland Road Interior House Paint Before & After Pictures
-
- Redland Road Interior House Paint Before & After Pictures
-
- Redland Road Interior House Paint Before & After Pictures
-
- Redland Road Interior House Paint Before & After Pictures
-
- Redland Road Interior House Paint Before & After Pictures
-

- Redland Road Interior House Paint Before & After Pictures
-
- Redland Road Interior House Paint Before & After Pictures
-
- Redland Road Interior House Paint Before & After Pictures
-
- Redland Road Interior House Paint Before & After Pictures
-
- Redland Road Interior House Paint Before & After Pictures
-
- Redland Road Interior House Paint Before & After Pictures
-
- Redland Road Interior House Paint Before & After Pictures
-

- Redland Road Interior House Paint Before & After Pictures
-
- Redland Road Interior House Paint Before & After Pictures
-
- Redland Road Interior House Paint Before & After Pictures
-

- Redland Road Interior House Paint Before & After Pictures
-
- Redland Road Interior House Paint Before & After Pictures
-
- Redland Road Interior House Paint Before & After Pictures
-
- Redland Road Interior House Paint Before & After Pictures
-

- Redland Road Interior House Paint Before & After Pictures
-
- Redland Road Interior House Paint Before & After Pictures


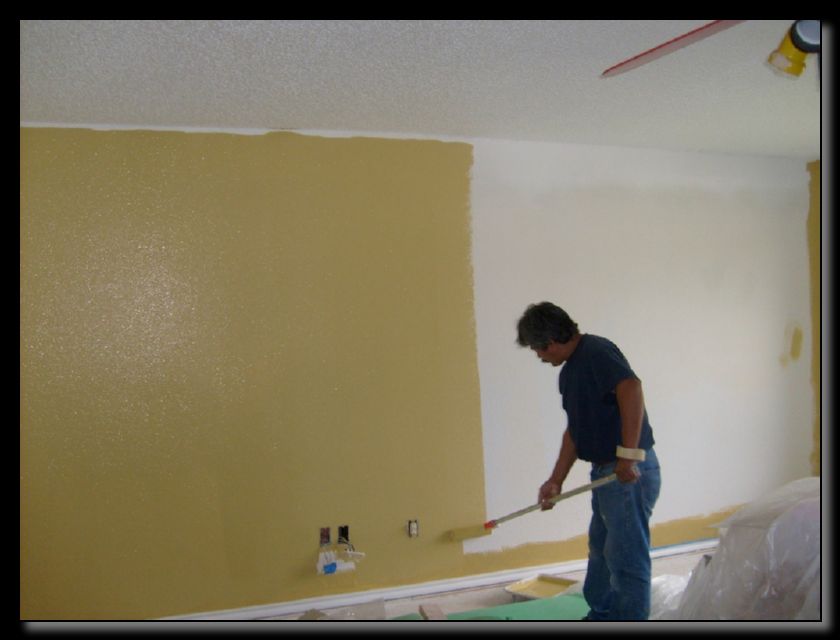


This customer likes to use Sherwin Williams Paint
The Purpose of Primer
- Helps ensure a uniform paint finish.
- Blocks tannin, water, grease and smoke stains that can bleed through your topcoat.
- Improves adhesion of the topcoat so your paint will last longer and look better.
Selecting the Right Primer
New wood – If your wood isn’t seriously stained, use a high-quality latex primer or an oil-based primer. If you have wood that’s stained or you’re painting redwood or cedar, use a stain-blocking primer.
Painted wood – If your paint is in very good condition, a primer may not be needed. However, if you have exposed wood, chalking or chipped paint, use an oil-based primer. Before you prime, scrape away as much chipped paint as possible and wash off any chalk. (Just because you’re using a primer doesn’t mean you should skip surface preparation.)
Weathered wood – Use a high-quality latex or oil-based primer. Sand and scrape away as much paint as possible. When you start to see new wood fibers, start priming.
Masonry block – Fill a fresh surface with block filler before painting. If repainting, scrape off any loose or peeling paint and cover with latex paint. Use a block filler only if the paint has been completely scraped off.
Aluminum and galvanized steel – If your surface is rusty, remove the rust and apply a latex or oil-based, corrosion-resistant primer. If the surface is new and rust-free, you can apply a high-quality latex paint and no primer.
Drywall – Use a latex primer. Don’t use an oil-based primer unless you’re putting up wallpaper or covering a stain. Oil-based primers raise the grain of the drywall and make the finish look uneven.
Stains – Crayons, water, smoke and grease can bleed through the topcoat. Prime these areas with a stain-blocking or stain-killing primer. Oil-based stain killers work the best on water stains and for spot priming. Latex stain-blocking primers work better on large areas and hold up better on exterior surfaces. Pigmented shellac primer works well to block smoke and soot damage as well as to block animal urine smells.
Shiny surfaces – Bonding primers will stick to glass, tile, formica and previously painted surfaces. Use bonding primers for interior surfaces only. They tend to crack when exposed to the elements.
Paint Primer
A primer will help paint adhere to the surface, providing a more uniform appearance. Use a primer when painting over new wood, bare wood, or repainting over existing bright or dark colors.
Getting Started
- Complete exterior repair and preparation.
- Check the weather forecast before starting the job. Rain or high wind can cut a day of painting short and ruin what’s already been applied. Exterior latex is fast drying, but it still needs time to dry before it gets hit by rain. Oil-based paint definitely needs curing time; check the manufacturer’s recommendations. Paint when temperatures are above 50° and below 85°. Heavy rain or high humidity on a newly painted uncured surface can cause blistering.
- Set the ladder up on flat ground.
- Cover bushes, flowerbeds, decks and sidewalks with dropcloths. Tie back shrubs to prevent them from rubbing against fresh paint.
- Avoid painting in direct sun. Paint the west-facing side in the morning and the east in the afternoon.
Paint Application
- Paint the siding first. Start at the top, painting horizontally as you work your way down. Use a scaffold if possible, or move the ladder regularly. Over-reaching on a ladder is dangerous; plus the paint application will be uneven if you can’t see the lap marks well.
- Paint the windows and trim next. Don’t close the windows completely after painting to prevent sticking. Leave a very small strip of paint around the edges of the windowpanes to seal out the weather.
- Paint the foundation last.
Potential Issues
Sunlight and UV radiation. Sunlight and moisture can cause chalking and tint loss; however, latex paint tends to resist the effects of direct sunlight better than oil-based or alkyd paints.
Water and moisture. Wood expands and contracts due to changing moisture levels and can cause paint to crack and flake under this stress. Permeable or breathable latex paint allows water to vaporize and escape before damage can occur. Moisture can cause blistering, which leads to mildew growth. Paint additives keep mildew from forming but will not kill existing mildew.
Change in temperature. Superior adhesion and flexibility in paint helps prevent cracking and flaking caused by the expanding and/or contracting of the substrate (wood, plywood, or hardboard). Top quality acrylic latex paint is an excellent choice for areas with freeze/thaw cycles.
Siding
Aluminum and vinyl siding present special challenges when painted. Aluminum siding frequently suffers from excessive chalking and may contain dents and imperfections. Pressure wash or hand-scrub to remove chalk and rinse afterwards. Satin or low luster paint is the best choice for aluminum siding because it hides dents and makes the imperfections less noticeable. A spray application gives the best appearance. Vinyl siding has the same problems with one additional limitation. Vinyl siding has a tendency to buckle or warp irreversibly from hot, direct sunlight. Darker colors will absorb more heat, so select a paint color no darker than the original color of the original vinyl.
Paint Storage and Disposal
- Clean paint from the rim of the can. Seal container lids tight by tapping with a hammer and a block of wood.
- Store solvent-based paint cans upside down to prevent a skin from forming.
- Avoid extreme heat or cold.
- Disposal methods vary by community. Check your local environmental, health, and safety laws.
- Always follow label instructions for additional storage information.